Using FENICS to solve simple problems in mechanics#
FEniCS is an opensource platform for solving PDEs.
FEniCS has much more capabilities than those which will be illustrated here, and it was chosen for three main reasons:
Its opensource, you can use it where you want when you want and it will not require to obtain a license, connect to the Technion network or coming to work in the compter lab at the faulty. (so no excuses)
The ease of getting started working with it and solving the probelms in the HW assignment.
There is an abundnace of online information, tutrials and studying mateials, meaning thta if you find it interesting and usefull for other courses, you research project etc. you can easily pick it up and gain a new powerfull tool for your toolbox.
Having said this, you are more than welcome to solve the HWs with any FE oftware of your choice.
At the end of this document you will find links to some opensource FE packages which will answer your needs for the course.
just remebmebr that I am not profficient with all FE packages outhere and will be able to provide limited support or no support at all for some of them, the packages i can assist you with are marked
Getting Started#
Before starting with the examples on using FEniCS for our purpuses, we first need to steup a few things.
Install WSL2 on your computer. WSL2 is a Linux kernel, by Microsoft, allowing you to run linux distributions on your computer without leaving windows.
Install the Conda package manager Or install FEniCS directly (without conda)
Install FEniCS using conda (Or not)
Install an IDE (Jupyter notebook in this case or choose your own)
WSL2 Installation#
The installation process of WSL has been significantly simplified since the previous semester.
So assuming your windows version support the new process the instructions have been modified accordingly.
If your windows version is incompatible, please use the old instructions.
The instructions to follow are based on the Microsoft website
open PowerShell : ( ) and type powershell, now click the powershell icon
run the following command inside the powershell:
wsl --install
Note
By default, this will install Ubuntu 20.04, if you rather using a different flavor of linux its as simple as replacing the previous command with:
wsl --install -d <DistroName>
Your chosen distro (Ubuntu by default) is now available as an app in windows.
Moving forward#
Launch your chosen linux distro.
Now you need to choose:#
Installing FEniCS through anaconda will isolate the instalation in an easily removable enviroment. However the FEniCS version that will be installed will lack some features (not really relevant for this course).
Installing FEniCS directly may have an affect on other packages you are using in WSL, if needed feel free to contact me with questions.
Installing FEniCS directly in WSL#
Simply type in the following shell commands (assuming you are using ubuntu)
sudo apt update && sudo apt -y upgrade
sudo apt install software-properties-common -y
sudo apt install build-essential -y
sudo add-repository ppa:fenics-packages/fenics -y
sudo apt update -y
sudo apt install fenics -y
pip3 install jupyter -y
Thats it.
Installing using Conda (miniconda)#
We will be using python quite often throughout the course. You can use Octave/Matlab/R just as well but the materials I distribute will by “Pythonic”.
Also, it is comfortable to install FEniCS through the Conda package manager and run it using the Python API. As before, this is just the way I am accustomed to doing things and you can choose ther methods, as listed on the FEniCS website.
To install Conda on your WSL2 you have two options:
Install the full Anaconda package with multiple packages pre-installed
Install Miniconda (just the package manager) followed by installing just the packages you need. Below you will find instructions for doing that.
The link above will take you to the Miniconda documentation.
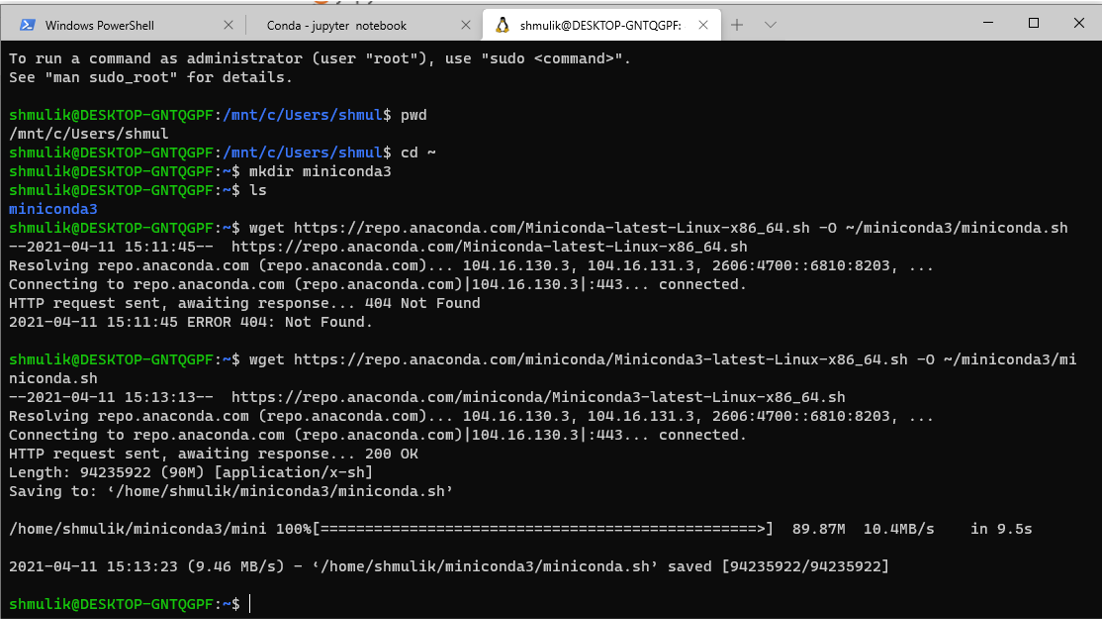
To install Miniconda first open a directory inside your home dir on linux:
“cd ~” will take you to your home directory.
“mkdir miniconda3” will create a directory named miniconda3
Now we need to get the installation files:
wget https://repo.anaconda.com/miniconda/Miniconda3-latest-Linux-x86_64.sh -O ~/miniconda3/miniconda.sh
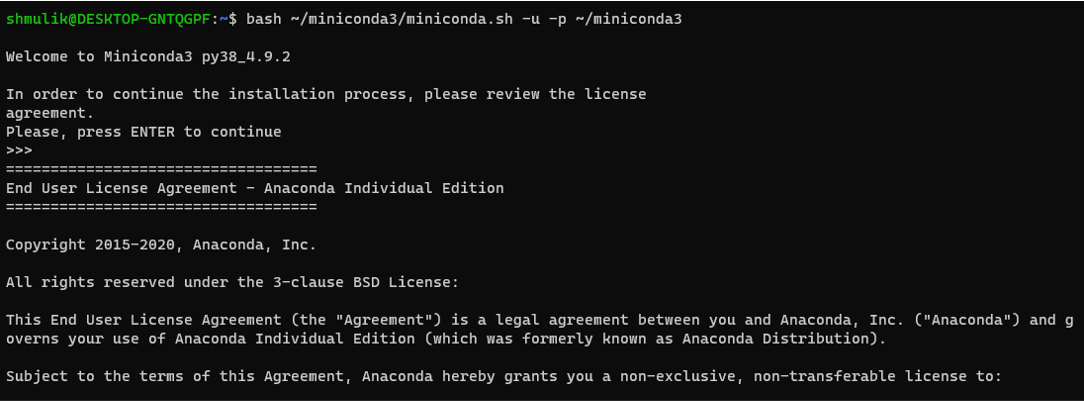
Now to install :
bash ~/miniconda3/miniconda.sh -u -p ~/miniconda3
and follow the instructions on the screen.
** suggestion** - when being asked if you want the installer to initialize Conda for you type yes
you can now remove the installation file using
rm -rf ~/miniconda3/miniconda.sh
Last step :)
Close the terminal and open a new one. you will notice that now you have (base) written infront of the directory location

(base) is the name of the current conda enviroment.
Install required packages (option 1)#
Install FEniCS#
We will follow the installation guide on the FEniCS website.
First create a new enviroment named FMcourse or any other name you want. As a general note it is helpful to use different enviroments for different projects/workflows and it prevents you from messing up the packages dependencies.
type: “conda create -n FMcourse -c conda-forge fenics”

Congratulations, you have installed FEniCS 2019.1.
to activate the FMcourse enviroment simply type “conda activate FMcourse”
You will see that (base) has changed to (FMcourse)
Install Jupyter notebook#
Simply type: “conda install -c conda-forge notebook”
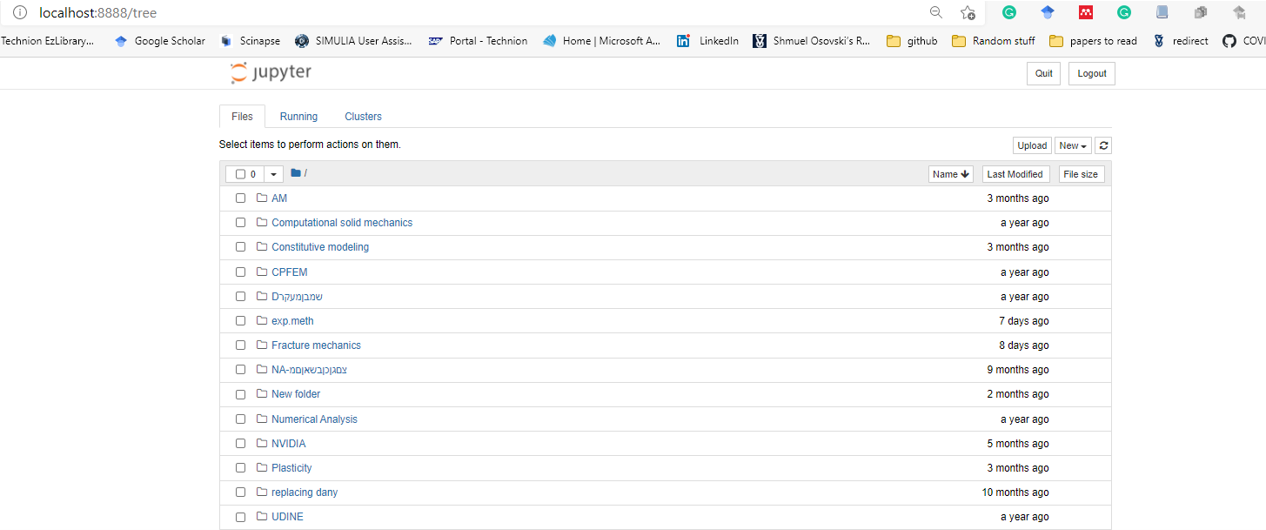
Once installed start the notebook by typing: “jupyter notebook”.
It will open up in your browser and will look like this:
Install Matplotlib#
Simply type: “conda install -c conda-forge matplotlib “
Install required packages (option 2)#
Download the FMcourse.yml file and type:
conda env create –file FMcourse.yml
this will create an enviroment called FMcourse and instal required packages.
To activate the enviroment type conda activate FMcourse
the examples to follow rely heavily on numerical tours of continuum mechanics using FEniCS and I strongly suggest to go over it and extend your knowledge.